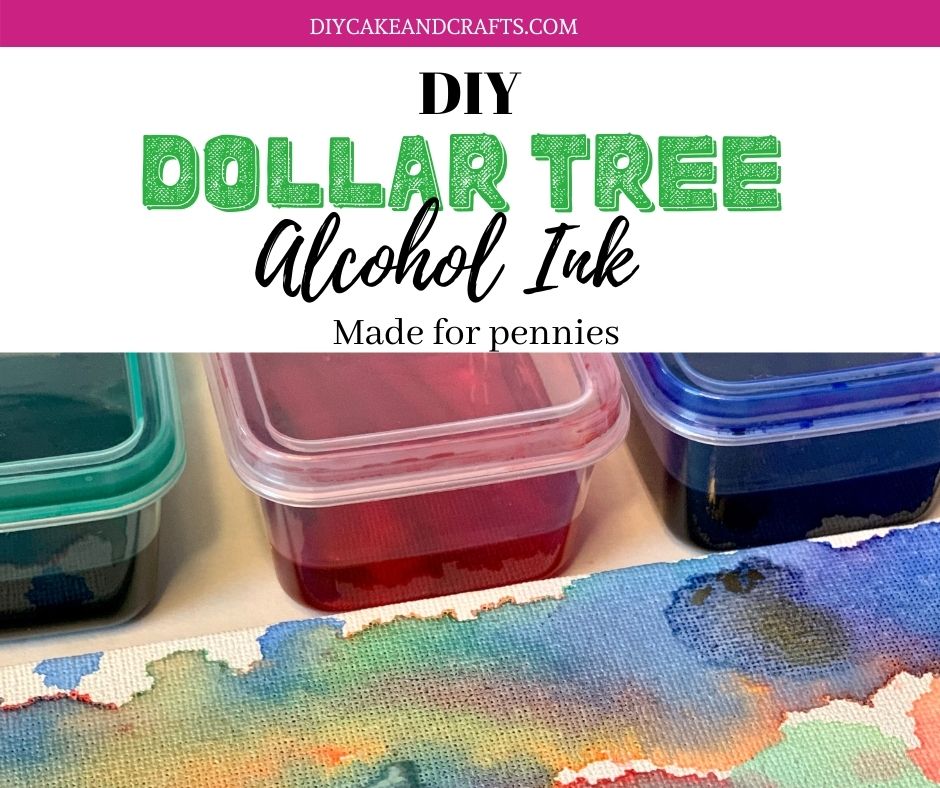
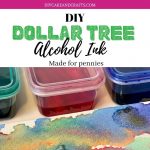
(DIY) Dollar Tree Alcohol Ink
If you’re a crafter like me, you may have heard about alcohol inks. Alcohol Ink comes in a lot of beautiful and intensely bright colors that can be used on canvas, fabrics, tumblers, and more.
Pre-made alcohol ink can be purchased at stores like Michaels, Joanne’s, Hobby Lobby, and Amazon. However, I am going to show you how to make your own DIY Dollar Tree Alcohol Ink that is made for pennies!
In this tutorial, I am going to show you the easy step-by-step process to make DIY Dollar Tree Alcohol Ink.
How to Make DIY Dollar Tree Alcohol Ink
The first time I started using alcohol ink was when I started making custom tumblers. I wondered why alcohol ink was so pricey. What I mean is, alcohol ink comes in tiny little bottles – so I tend to associate “tiny” with the cost, and it didn’t make sense to me. My “Ah-ha” light bulb went off in my head. I started researching to see if I could make alcohol at home, and I came up with this awesome hack.
Supplies you Need to Make DIY Dollar Tree Alcohol Ink

AFFILIATE LINKS: DIYCakeandCrafts is participating in affiliate programs. Some of my posts may contain affiliate links meaning I may receive a small commission at no extra cost to you when you make a qualifying purchase. I only promote products that I have personally used or believe in.
Let’s jump right into this easy DIY Dollar Tree project!
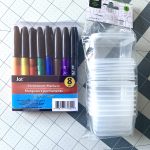
Supply List:
- 8-Pack Dollar Tree JOT Permanent Markers
- 8-Pack Dollar Tree Family CHEF Mini Storage Boxes
- Needle-Nose Plyers
- Razor Blade
- Gloves
- Paper Towel
- Scissors
- 91% Isopropyl Alcohol
When making alcohol ink, I highly recommend wearing gloves. If you don’t wear gloves, you may get ink all over your hands.
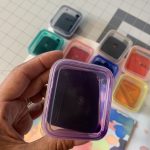
Open the tops of your Dollar Tree CHEF Mini Storage Boxes and lay them out in a row on your table. You will have one mini plastic box for each alcohol ink color. 
TIP: I recommend taking tops off your permanent markers one at a time so they don’t dry out.
Take the top off of one permanent marker. Using the needle-nose pliers, pull out the tip of the permanent marker and place it inside of the mini plastic boxes. Then, pry the two parts of the permanent marker apart by using a twisting motion and by pulling upwards.
Once you have separated the two pieces of the permanent marker, you will see the exposed inside colored ink core. Pull the ink core out and set the plastic parts to the side.
TIP: Use caution when doing this next step so you don’t cut yourself!
Place the ink core onto a paper towel and hold it at the furthest end with your gloved fingers. (This is where the gloves come in handy) About half -from the middle of the core, start cutting into the ink core using your blade. (If you keep your fingers at the top end, you are less likely to cut yourself.)
Cut all the way through the plastic film, and down to the end of the ink core.
Flip the ink core around and do the same exact thing on the opposite end that you were holding. You should now have a slit down one entire side of the plastic that was holding the ink core. The fuzzy fiber of the ink core will now be completely exposed – this is exactly what you want.
Using your scissors, cut the ink core in half. Place both halves into the Dollar Tree Family CHEF Mini Storage Box.
Pour isopropyl alcohol into the mini storage box that contains the ink core. I filled my container up to approximately the half-way point. Now, allow your DIY Dollar Tree Alcohol Ink to soak for at least 12-24 hours before using it for your craft project.
You will start to see the colors of your alcohol ink get more intense in color the longer it sits.
Once your alcohol ink has developed for 12-24 hours, you can transfer it to small squeeze type jars. I just keep mine in the same containers and pull out small amounts with a blunt tip syringe as needed.
TIP: Keep your alcohol ink in the covered container when not in use. This will prevent the alcohol from evaporating.
I cannot believe just how easy this DIY Dollar Tree Ink is to make at home! The cost of this project:
- 8 Dollar Tree JOT Permanent Markers ($1.00 or 12.5 cents each)
- Dollar Tree Family Mini Storage Boxes ($1.00 or 12.5 cents each)
- 32 oz. – 91% Isopropyl Alcohol ($1.96 or 0.12 cents per container)
That comes out to about $0.32 cents per Dollar Tree Alcohol Ink! WOW!!
So are you ready to make your own DIY Dollar Tree Alcohol Ink? Let me know how yours came out in the comments below.
P.S. – If you make something with your DIY Dollar Tree Alcohol Ink, I would love to see how it turned out. Tag me in your photos on Facebook or Instagram –> DIY Cake and Crafts on Facebook + Instagram

Related Posts

Quick Guide to Starting Subscription and Kit Boxes
Quick Guide to Starting Subscription and Kit Boxes Who knew that 2020 was going to…

What is Cricut Infusible Ink?
Cricut brand carries a huge line of vinyl to embellish all types of projects. But…